

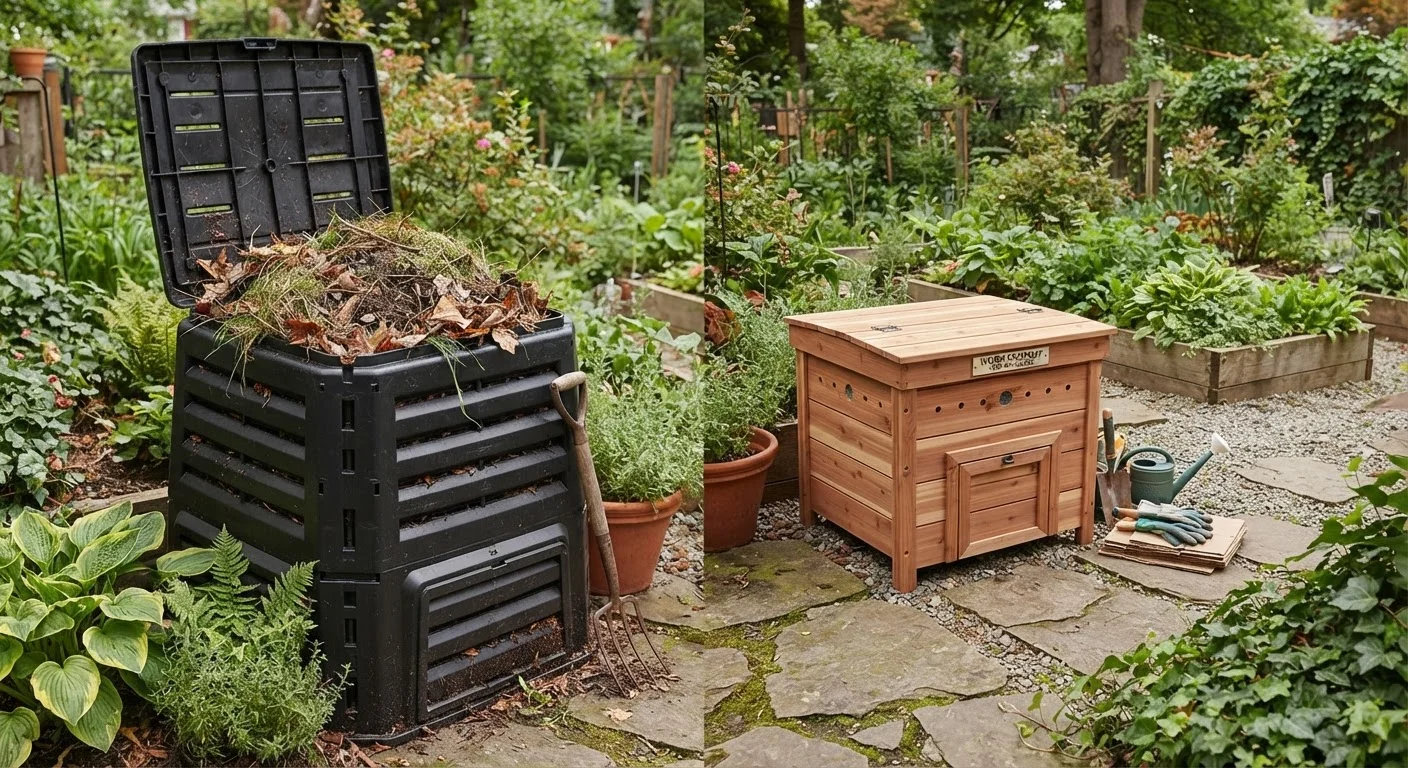
Our Verdict
Traditional backyard composting is the stronger fit for households with significant yard waste and outdoor space to spare. Vermicomposting with a worm bin shines for apartment dwellers, renters with small patios, or anyone who generates a lot of kitchen scraps and wants faster results. Neither method is universally superior - the right choice depends on your specific waste stream, space, and lifestyle.
| Best for | Recommended |
|---|---|
| Homeowners with yards and significant leaf or clipping volume | Traditional Backyard Composting |
| Apartment residents or those with limited outdoor space | Worm Bin (Vermicomposting) |
| Gardeners who want the richest possible soil amendment quickly | Worm Bin (Vermicomposting) |
| Those wanting to divert both kitchen and bulk yard waste | Both Methods Combined |
How Each Method Works
Traditional backyard composting relies on microbial decomposition. You build a pile - or fill a bin - with a mix of carbon-rich "brown" materials (dried leaves, cardboard, straw) and nitrogen-rich "green" materials (grass clippings, food scraps, fresh plant trimmings). Microorganisms break everything down over time, generating heat that speeds decomposition and kills many weed seeds and pathogens. The process is largely self-managing once the right balance is struck, though turning the pile and managing moisture levels helps it move faster. For a deeper look at bin types and troubleshooting, see our complete guide to backyard composting.
Vermicomposting - composting with worms - uses red wigglers (Eisenia fetida), a species adapted to living in organic material rather than soil. The worms consume food scraps and bedding, and their castings (worm excrement) form a dense, nutrient-rich amendment called vermicast or worm castings. A healthy bin processes waste continuously at room temperature, with no need for turning or heat generation. The bin itself stays relatively compact - typically a stackable plastic or wooden container that can fit under a sink, in a garage, or on a balcony.
Key Differences: Speed, Space, and Inputs
Speed is one of the sharpest contrasts between these two approaches. A well-maintained hot compost pile can produce finished compost in as little as six to eight weeks. A passive, unturned pile may take six months to a year or longer. Worm bins, by contrast, process material on a rolling basis - you can begin harvesting castings in as little as two to three months, and the system runs continuously as long as worms are fed consistently.
| Traditional Composting | Worm Bin (Vermicomposting) | |
|---|---|---|
| Time to finished product | 6 weeks to 12+ months | 2-3 months, continuous harvest |
| Space needed | Large outdoor footprint (3×3 ft minimum) | Small bin, indoors or sheltered patio |
| Accepts yard waste | Yes - leaves, clippings, prunings | No - only small, soft plant material |
| Accepts kitchen scraps | Yes - fruit, veg, coffee grounds | Yes - ideal for kitchen scraps |
| Maintenance level | Low to moderate - turning, moisture checks | Moderate - regular feeding, temperature watch |
| Output volume | High - bulk soil amendment | Lower - concentrated castings |
| Odor risk | Moderate if mismanaged outdoors | Low if managed properly |
| Best for | Large yards, bulk waste diversion | Apartments, kitchen scrap focus |
Space requirements differ considerably. A traditional pile needs a dedicated outdoor footprint - most recommendations suggest a minimum of 3 feet by 3 feet, and larger piles compost more efficiently. Worm bins can occupy just a few square feet indoors or in sheltered outdoor spots, making them practical for small-space gardeners who lack a yard entirely.
What each system accepts also diverges. Traditional composting handles the full spectrum: grass clippings, leaves, woody prunings (chipped small), fruit and vegetable scraps, coffee grounds, and even shredded paper. Worm bins are better suited to kitchen scraps - fruit and vegetable waste, coffee grounds, crushed eggshells, and paper bedding. Meat, dairy, and oily foods are generally avoided in both systems but are especially problematic in worm bins, where they can harm the worm population and create odors in a confined space.
Output Quality and Garden Uses
Finished compost from a traditional pile is a versatile, crumbly soil amendment that improves drainage in clay soils, adds water retention in sandy soils, and feeds soil biology broadly. It works well as a top dressing, mixed into planting beds, or used as a mulch layer. If you're weighing how to use finished compost alongside other soil improvement strategies, our guide on mulching your garden beds covers how these inputs complement each other.
Worm castings are often described as a more concentrated product. Research from land-grant universities and extension services consistently shows that vermicast tends to be higher in available plant nutrients - particularly nitrogen, phosphorus, and potassium in plant-accessible forms - compared to standard thermophilic compost. Castings also contain beneficial microbes and compounds associated with improved plant germination and root development. Because of this concentration, castings are typically used in smaller quantities: worked into seed-starting mixes, side-dressed around transplants, or brewed into a liquid fertilizer tea.
Getting the Most from Worm Castings
Because worm castings are nutrient-dense, a little goes a long way. Mix roughly 10-20% castings into seed-starting mix or blend a handful into the planting hole for transplants. For established beds, a thin top dressing of castings worked lightly into the soil surface can noticeably improve plant vigor without risk of burning roots - something that can happen with stronger concentrated fertilizers.
Both outputs are genuinely useful. Compost excels as a bulk soil builder; castings function more like a targeted amendment or supplement. Gardeners who grow in raised beds - where precise soil mix matters - often find castings especially valuable. For context on why soil quality is so central to bed performance, see our comparison of raised beds vs. in-ground gardens.
Maintenance, Troubleshooting, and Choosing Your Path
Traditional composting is forgiving of occasional neglect. If a pile dries out or sits unturned for weeks, it simply slows down rather than failing. Common issues - odors from excess moisture, slow breakdown, or visible pests - are generally corrected by adjusting the green-to-brown ratio, aerating the pile, or covering food scraps with a layer of browns. The system scales naturally: the more waste you add, the more compost you eventually harvest.
Worm bins require more consistent attention in a few key areas. Worms are sensitive to temperature extremes - they thrive between roughly 55°F and 80°F, which means bins left outdoors in freezing winters or hot summers may need to be moved. Overfeeding is a common beginner mistake and can lead to anaerobic conditions and odor. That said, a properly maintained bin is nearly odor-free and can even be stored in a kitchen or garage without issue. If your garage doubles as a storage challenge, our garage organization guide can help you carve out a suitable spot.
For many households, running both systems is genuinely practical. A worm bin handles daily kitchen scraps year-round, while a traditional outdoor pile processes seasonal surges of leaves and clippings. Together, they cover nearly every organic waste stream a typical home produces and give you a steady supply of two distinct, useful soil amendments.
The content on this site is for informational purposes only and is not a substitute for professional advice. Always consult a qualified professional for guidance specific to your situation.