

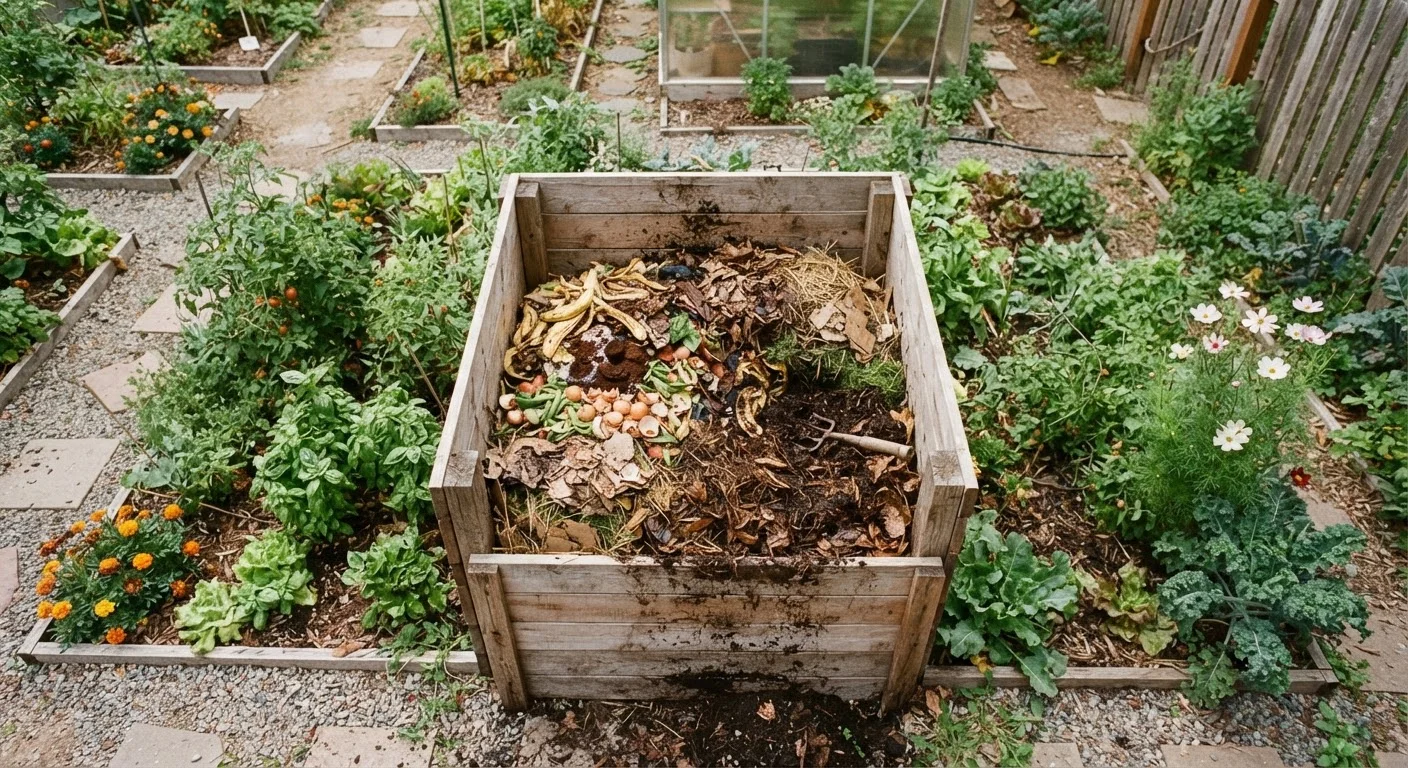
Why Composting Is Worth the Effort
Composting is one of the most practical things a home gardener can do. It converts kitchen scraps and yard trimmings - materials that would otherwise go to a landfill - into a dark, crumbly amendment that genuinely improves garden soil. According to the U.S. Environmental Protection Agency, food and yard debris together make up a substantial share of what Americans throw away each year, and composting is among the most accessible ways to divert that waste at home.
For gardeners, the payoff is concrete. Finished compost adds organic matter that improves drainage in clay-heavy soils, helps sandy soils retain moisture, and feeds the microbial life that makes nutrients available to plant roots. If you're starting a vegetable garden or expanding existing beds, homemade compost is one of the most cost-effective soil improvements available.
~24%
Share of U.S. municipal waste from food scraps
According to EPA waste characterization data, food is consistently one of the largest single material categories in the U.S. municipal solid waste stream.
1-3 months
Time to finished compost with active management
University extension programs generally report that hot, actively managed piles can produce usable compost in as little as four to twelve weeks.
Up to 30%
Potential reduction in household landfill waste
Composting food scraps and yard trimmings together can meaningfully cut the volume of waste a typical household sends to landfill, per various state and local waste agencies.
Choosing the Right Compost Bin or System
The right composting setup depends on how much space you have, how much material you generate, and how hands-on you want to be.
- Open pile: The simplest option - just a designated corner of the yard. Works well for large volumes of yard waste but offers little containment and slower results without active management.
- Enclosed bin: A bottomless plastic or wood bin that sits directly on soil. Holds heat and moisture better than an open pile, discourages pests, and suits most suburban yards. Many municipalities sell these at a discount through waste-reduction programs.
- Tumbler: A sealed drum mounted on a frame that you rotate. Speeds decomposition by making aeration effortless, and keeps wildlife out completely. Best for households with limited space or persistent pest pressure.
If your outdoor space is very limited, composting in a small area is still achievable. Our guide on small-space gardening includes ideas for container-based growing that pairs well with compact composting setups. You might also explore vermicomposting (worm bins) as an indoor-friendly alternative.
What to Add - and What to Keep Out
Successful composting depends on balancing two categories of ingredients, commonly called greens (nitrogen-rich) and browns (carbon-rich). A rough target of one part greens to two or three parts browns by volume gives decomposer organisms the fuel they need without creating odor or slime.
Greens to add
- Fruit and vegetable scraps
- Coffee grounds and paper filters
- Fresh grass clippings
- Plant trimmings (disease-free)
- Eggshells (add calcium; decompose slowly)
Browns to add
- Dry leaves
- Cardboard and newspaper (shredded, uncoated)
- Straw or hay
- Paper bags and paper towels
- Woody prunings (chipped small)
Keep a small countertop container with a tight-fitting lid near the kitchen sink to collect scraps between trips to the bin. This makes daily composting effortless and reduces the temptation to toss scraps in the trash.
Friction is the main reason people abandon composting habits. Reducing the number of steps between scrap generation and collection dramatically improves follow-through.
Stockpile a bag of dry leaves in the fall so you have browns available year-round. Greens accumulate easily but browns can be hard to find in summer when the pile needs them most.
Carbon-rich material is the most common limiting factor in home composting. Having a ready supply prevents the pile from going anaerobic during peak kitchen-scrap season.
What to keep out
- Meat, fish, bones, and dairy - attract pests and create strong odors
- Diseased plant material - pathogens may survive and spread
- Pet waste - can contain harmful bacteria
- Oily or heavily processed foods
- Glossy or coated paper
Managing Your Pile for Faster Results
A passive pile left alone will eventually compost, but it can take one to two years. Active management cuts that to as little as one to three months. Three variables control the speed: aeration, moisture, and particle size.
Aeration: Turning the pile introduces oxygen that the microbes doing decomposition need. Aim to turn the pile every one to two weeks using a garden fork or compost aerator tool. The center of an active pile should feel warm - that heat is a sign that microbial activity is high.
Moisture: The pile should feel about as damp as a wrung-out sponge. Too dry, and decomposition stalls. Too wet, and the pile goes anaerobic and starts to smell. In dry climates, water the pile occasionally; in wet climates, cover it during heavy rain.
Particle size: Smaller pieces decompose faster. Chop vegetable scraps before adding them and shred leaves rather than adding them in thick layers. Whole leaves mat together and block airflow.
Troubleshooting Common Problems
Even well-managed piles run into occasional issues. Here are the most common problems and how to correct them.
- Pile smells like ammonia
- Too many greens relative to browns. Add a generous layer of dry leaves or shredded cardboard and turn the pile.
- Pile smells rotten or sulfurous
- Too wet or not enough oxygen. Turn it thoroughly and add dry browns to absorb moisture.
- Nothing seems to be happening
- Usually too dry, too much carbon, or particle sizes are too large. Water lightly, add fresh greens, and chop or shred materials before adding.
- Pests are getting in
- Avoid adding meat or dairy, bury food scraps in the center of the pile, and consider switching to an enclosed bin or tumbler. Hardware cloth (wire mesh) can be laid beneath an open bin to deter burrowing animals.
How to Use Finished Compost
Finished compost has a dark brown color, a crumbly texture, and an earthy smell - similar to forest floor soil. You should not be able to identify the original ingredients. If recognizable pieces remain, let the pile rest another few weeks or screen it through a half-inch mesh before use.
Common applications
- Soil amendment: Work 2-4 inches of compost into the top 6-8 inches of garden bed soil before planting. This is especially valuable when preparing a new vegetable bed.
- Top dressing: Spread a half-inch layer around established perennials and shrubs each spring. Pair this practice with proper mulching to retain moisture and suppress weeds.
- Lawn topdressing: Rake a thin layer into bare or thin spots on a lawn to improve soil biology without smothering grass.
- Potting mix booster: Blend compost into potting soil at roughly 20-30% by volume to improve structure and add nutrients.
Homemade compost won't replace all fertilizers for every plant, but it consistently improves soil health over time, reducing your long-term reliance on purchased inputs.
The content on this site is for informational purposes only and is not a substitute for professional advice. Always consult a qualified professional for guidance specific to your situation.