

Why Room-by-Room Works Better Than a Whole-Home Blitz
Trying to declutter an entire home in a single weekend often leads to abandoned piles and renewed frustration. A room-by-room strategy breaks the project into defined zones with clear start and end points, so each session produces a tangible result you can actually see and feel. That visible progress is what builds momentum for the next room.
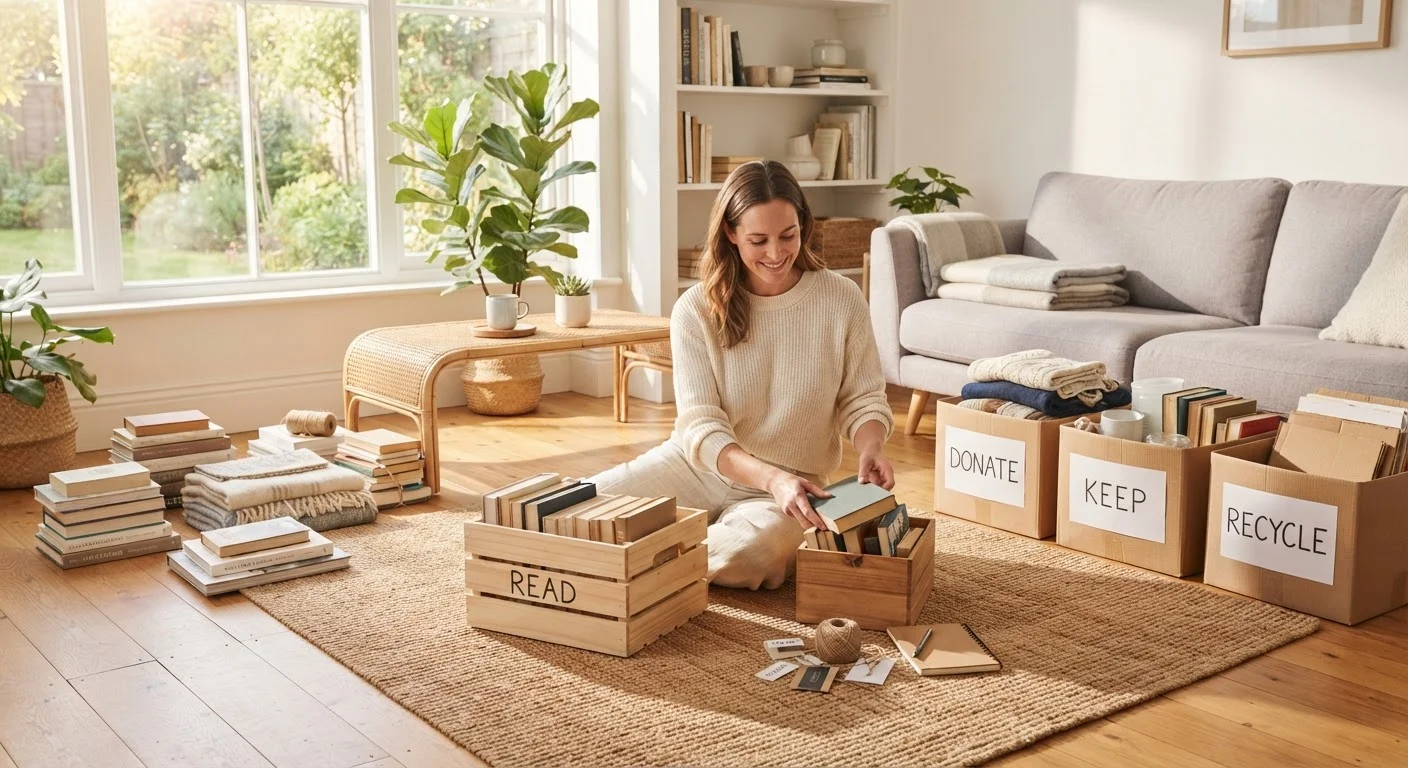
Before you start, decide on your sorting system. A simple three-category method - Keep, Donate/Sell, Discard - works for most households. Label three bins or bags with those categories and bring them into every room you tackle. For a deeper look at popular organizing frameworks, the household organization reference guide covers common systems in plain language.
What you will need
It also helps to understand which rooms drive the most daily stress. For most households, that's the kitchen, the bedroom, and whatever room acts as the default dumping ground - often an entryway, home office, or spare bedroom. Start there.
Room-by-Room Walkthrough
Follow these steps for each room in sequence. Adjust the order based on your own home's pain points, but resist the urge to skip ahead to multiple rooms at once.
Start with the entryway or mudroom
The entryway sets the tone for the entire home. Clear every surface: coat hooks, console tables, shoe racks, and any catch-all bowls. Discard expired coupons, broken umbrellas, and single gloves. Keep only what is used at least weekly. Relocate items that don't belong at the door - mail from six months ago goes to the home office, not back to the hook.
Clear the kitchen
Empty every cabinet and drawer completely before sorting. Check expiration dates on pantry items and spices - many spices lose potency well before their printed date. Evaluate duplicate tools: most cooks need one good chef's knife, not seven. Countertops should hold only appliances used at least three times a week; everything else belongs in a cabinet or out of the kitchen entirely.
Tackle the primary bedroom
Begin with the closet. Pull everything out and sort by category: tops, bottoms, outerwear, shoes, accessories. Ask honestly whether each item fits, is worn regularly, and is in wearable condition. Items kept out of guilt or 'someday' thinking are prime candidates for donation. Move to nightstands and under-bed storage next, then surfaces like dressers and shelving.
Work through bathrooms
Bathrooms accumulate expired products quickly. Check dates on medications, skincare, sunscreen, and makeup - most have a period-after-opening symbol indicating usable life. Discard anything past its date or that you haven't used in six months. Consolidate duplicates and evaluate storage: items used daily should be within easy reach; occasional-use items belong in a cabinet or drawer.
Address living and common areas
Common areas tend to collect items from every other room. Start by returning misplaced items to their proper rooms before sorting what actually belongs here. For media collections, books, and decor, apply the same keep-donate-discard framework. Be critical of surfaces: a cleared coffee table or bookshelf is functional, not sparse. Reduce decor to pieces that are genuinely meaningful or useful.
Finish with storage spaces: garage, basement, attic
These spaces become permanent holding zones for items that never find a home elsewhere. Sort ruthlessly: if something has been boxed for more than two years without being accessed, there is a strong case for letting it go. Group what remains by category (seasonal, tools, sports equipment) and store like items together. Label all bins clearly so these areas don't reabsorb clutter from the rest of the house.
Avoid Organizing Before Decluttering
A common mistake is buying storage solutions - bins, baskets, shelving - before deciding what to keep. Organizing clutter just relocates it. Complete your keep-donate-discard sort first, then assess what storage, if any, you actually need. This approach often reveals that you need fewer containers than you thought, not more. For more on this idea, common organizing myths covers this and other counterproductive habits in detail.
Once you've worked through the major rooms, use the seasonal declutter checklist to catch new accumulation before it becomes another project. If you're working within limited square footage, the strategies in Small Space, Smart Storage can help you make the most of what you have.
What to Do With Items You're Removing
Leaving donate bags sitting in a corner for weeks is one of the most common ways decluttering progress quietly reverses. Schedule a specific drop-off day - or arrange a pickup - before you even begin your first room. Items earmarked for selling should be listed within a week of sorting; if they haven't moved in 30 days, consider donating them instead.
For items that are broken, outdated, or truly unusable, check local guidelines for recycling electronics, textiles, and hazardous materials like old paint or batteries. Many municipalities offer periodic collection events.
Don't Let Removed Items Linger
Bags and boxes staged for donation have a way of drifting back into living spaces if not removed promptly. Set a hard deadline - ideally within 48 hours of sorting - to drop off or schedule pickup for donated items. Items intended for sale should have a firm cutoff date; if they don't move, donate them rather than letting them re-enter the home.
Sentimental clutter deserves special mention: items with emotional weight - boxes of photographs, inherited objects, children's artwork - should be sorted in their own dedicated session, separate from functional rooms. Rushing these decisions often leads to regret. A useful approach is to set a defined limit (one box, one shelf) for each category of keepsakes, then curate within that boundary. For two contrasting philosophical approaches to letting go, see KonMari vs. The Minimalist Game.
This article is part of a broader series - the end-to-end home organization guide covers organizing principles for every stage of homeownership, from first apartments to family homes.
The content on this site is for informational purposes only and is not a substitute for professional advice. Always consult a qualified professional for guidance specific to your situation.