

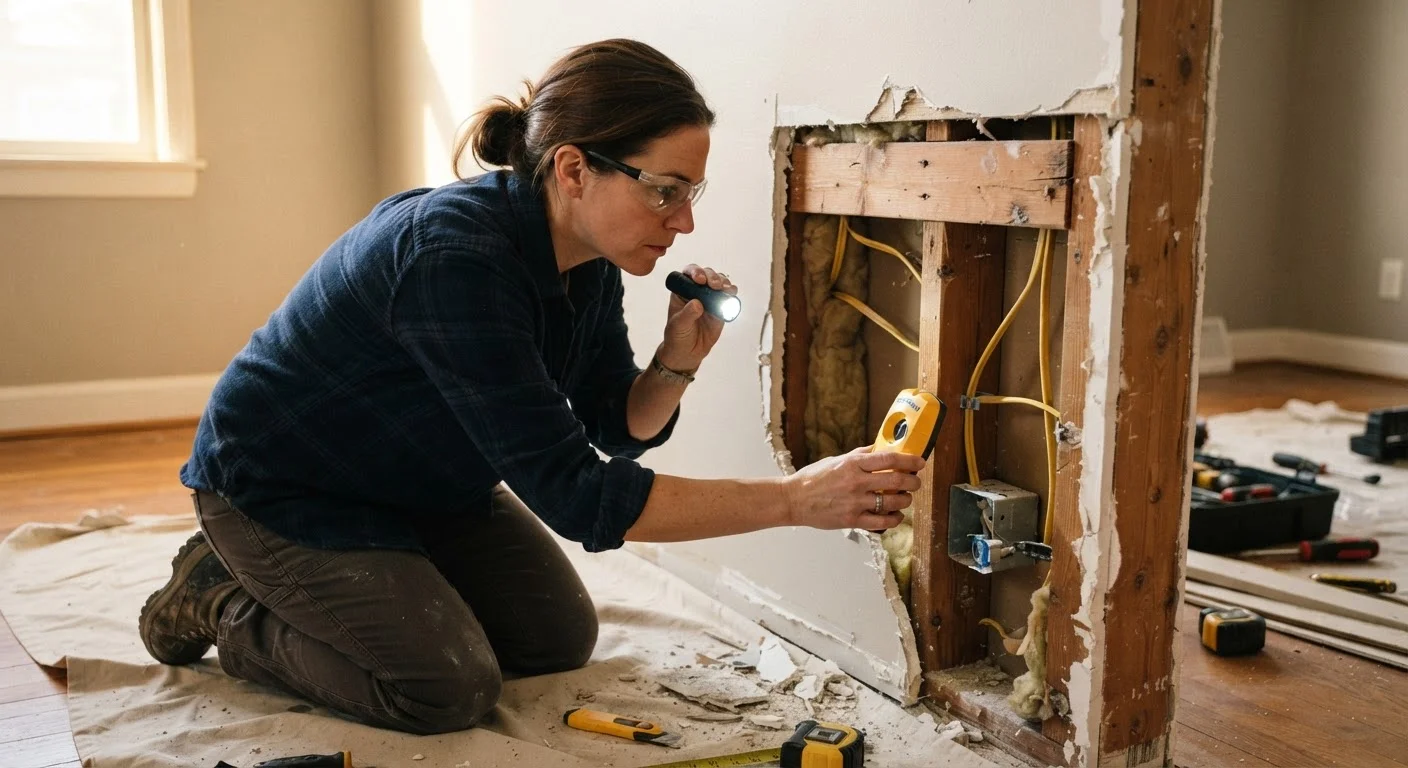
Summary
18 items · 45-90 minutes
Why Opening a Wall Deserves Careful Preparation
Cutting into a wall seems straightforward - until you hit a live electrical wire, nick a water supply line, or discover your wall is holding up the floor above. These aren't worst-case scenarios; they're routine realities that experienced contractors encounter regularly. For homeowners, a little upfront preparation can mean the difference between a smooth project and a costly, dangerous setback.
This checklist walks you through what to investigate, assess, and confirm before the first cut is ever made. Whether you're creating a pass-through, installing a pocket door, or simply chasing a plumbing leak, the same principles apply. Be sure to also read our guide on load-bearing vs. non-load-bearing walls before any demolition work begins - that distinction alone can determine whether your project is safe to DIY or requires a structural engineer.
Stud finder
Locates wooden or metal framing studs behind drywall to guide safe cutting zones.
Non-contact voltage tester
Detects live electrical wires without touching them, a critical safety check before any cut.
Multi-scanner or wall scanner
Combines stud detection, AC wire sensing, and sometimes metal pipe detection in one device.
Oscillating multi-tool or drywall saw
Allows controlled, shallow cuts into drywall with less risk of cutting too deep into wall systems.
Utility knife
Used for scoring and making small exploratory cuts before committing to a larger opening.
Lead paint test kit
Checks painted surfaces for lead content before sanding or cutting, which could release toxic dust.
Headlamp and inspection mirror
Allows you to see into the wall cavity through a small opening before widening it.
Painter's tape and marker
Marks stud locations, planned cut lines, and utility routes directly on the wall surface.
Your Pre-Opening Wall Checklist
Work through each group below before making any cuts. Items marked must are non-negotiable safety and code requirements. Items marked should are strongly recommended for most projects, while nice to have items can improve outcomes but aren't always essential.
Research & Permits
Hazardous Materials Assessment
Locating Hidden Systems
Safe Opening Technique
Never Skip Electrical Verification
Turning off a breaker is not sufficient confirmation that a wire is de-energized - circuits can be mislabeled, and some outlets and fixtures are on multiple circuits. Always use a non-contact voltage tester directly on wires visible through your exploratory cut before proceeding. If you find wiring you didn't expect, stop and contact a licensed electrician.
When to Stop and Call a Professional
Some discoveries during pre-work should bring everything to a halt. If your stud finder shows inconsistent or unexpected density patterns, that can indicate hidden structural elements. If you spot discoloration, staining, or soft drywall near the base of a wall, water damage or mold may be present inside. Any sign of knob-and-tube wiring (common in homes built before the 1950s) warrants an electrician's assessment before proceeding.
Older homes - typically those built before 1980 - may also contain asbestos in joint compound or insulation, and lead paint on wall surfaces. Disturbing these materials without proper testing and containment is a health and legal risk. Local regulations may require licensed abatement contractors in these situations.
Disturbing Asbestos or Lead Requires Special Handling
Cutting or sanding materials that contain asbestos or lead paint releases hazardous particles that pose serious long-term health risks. In many jurisdictions, disturbing known asbestos-containing materials without licensed abatement is illegal. If testing reveals either hazard, pause the project and consult a certified abatement professional before doing anything further.
If your project involves removing a wall entirely rather than just cutting an opening, the complexity increases significantly. You may need permits, engineering sign-off, and temporary shoring. See our article on hiring a general contractor for guidance on vetting professionals for exactly these situations.
Once your opening is made safely, the next phase is patching and finishing. Our drywall repair guide covers everything from small cuts to larger panel replacements. And if this is your first major home project, it's worth reviewing what first-time homeowners get wrong about maintenance before diving in - solid habits now protect your investment long term.
The content on this site is for informational purposes only and is not a substitute for professional advice. Always consult a qualified professional for guidance specific to your situation.