

Understanding the Damage Before You Begin
Not all drywall damage is created equal, and choosing the wrong repair method wastes time and materials. Before reaching for a trowel, classify what you're dealing with:
- Hairline cracks - surface-level splits often caused by seasonal movement or minor settling
- Small holes (under 1 inch) - nail pops, screw holes, or small dings
- Medium holes (1-6 inches) - doorknob impacts, anchor pull-outs, or accidental punctures
- Large holes (over 6 inches) - significant damage requiring a backing board and replacement panel
Also check whether the damage involves water staining, mold, or soft, crumbling gypsum. If so, stop and identify the moisture source before making any cosmetic repair. Covering water-damaged drywall without fixing the underlying cause will only lead to repeat damage and potential health concerns. When in doubt, consult a licensed contractor who can assess whether replacement - rather than repair - is the right call.
What you will need
Tools and Materials You'll Need
Having the right supplies on hand before you start prevents mid-project trips to the hardware store and keeps the work moving efficiently.
Putty knife or drywall knife (6-inch and 10-inch)
Applies and feathers joint compound across the repair area.
Joint compound (pre-mixed)
Fills and levels the damaged area to match the surrounding wall surface.
Self-adhesive fiberglass mesh tape
Reinforces medium holes and crack repairs before compound is applied.
Sandpaper (120-grit and 220-grit)
Smooths dried compound between coats and before priming.
Drywall primer
Seals the repaired area so finish paint adheres and sheen is consistent.
Sanding sponge
Provides controlled sanding in tight corners without oversanding edges.
Drywall patch kit (self-adhesive)
Provides backing support for medium holes (1-6 inches) without needing furring strips.
For larger holes, you'll also need a drywall saw (also called a jab saw) to cut a clean edge, plus wood furring strips or a pre-made patch kit for backing support. Many hardware stores carry self-adhesive mesh patch kits sized for medium holes - these simplify the process considerably.
Step-by-Step Repair Process
Follow these steps in order, adjusting the technique at Steps 2 and 3 based on your damage classification above.
Clean and Prepare the Damaged Area
Remove any loose paper facing, crumbling gypsum, or protruding fasteners. For nail pops, drive the existing nail deeper with a hammer and set a new drywall screw 2 inches above and below the pop, then dimple each screw head slightly below the surface without breaking the paper. Brush away dust so the compound adheres cleanly.
Apply Backing or Mesh (for holes larger than 1 inch)
For holes up to 6 inches, center a self-adhesive mesh patch over the opening and press firmly so all edges bond to the wall. For holes larger than 6 inches, cut a clean rectangular or square opening with a drywall saw, then secure furring strips (thin wood boards) inside the wall cavity as backing - attach them to the existing drywall with screws on each side before cutting a replacement piece of drywall to fit. Secure the patch to the furring strips with drywall screws.
Apply the First Coat of Joint Compound
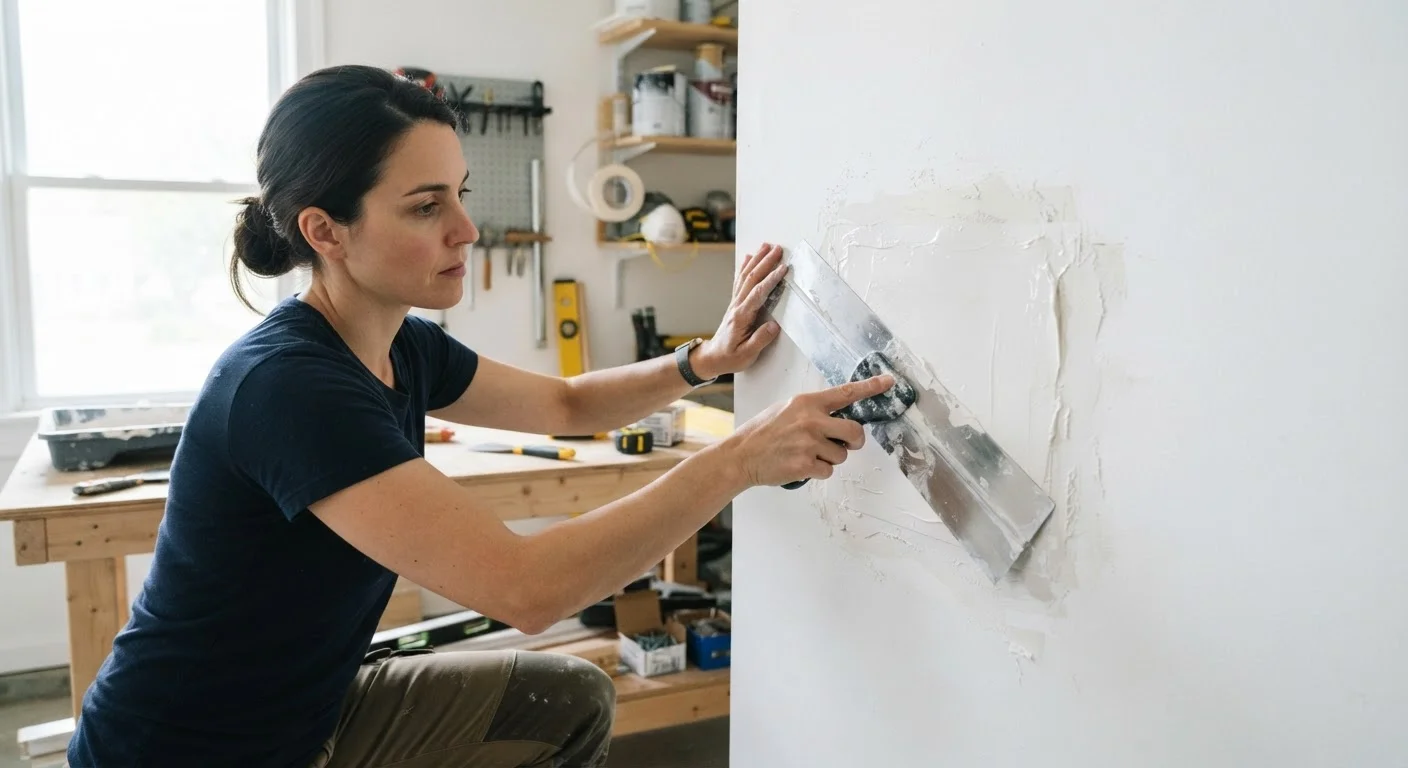
For small holes and cracks: apply a thin layer of joint compound directly over the damage using a 6-inch knife, pressing it firmly into the void. For mesh-patched areas: spread compound over the mesh with moderate pressure so it works into the fibers. Extend the compound about 3-4 inches beyond the mesh edges. Smooth the surface as flat as possible and allow to dry completely - typically 24 hours in normal indoor conditions.
Sand, Then Apply Second and Third Coats
Once the first coat is fully dry, sand lightly with 120-grit sandpaper to knock down any ridges or tool marks. Wipe away dust. Apply a second, wider coat using the 10-inch knife, feathering the edges 6-8 inches outward. Let dry completely, sand again, then apply a final skim coat if needed - pulling the compound nearly flat with minimal material. Sand the final coat with 220-grit for a smooth finish.
Prime and Paint
Apply drywall primer over the entire repaired area and extend a few inches onto the surrounding wall. Allow the primer to dry per the manufacturer's label. Once primed, the surface is ready for your finish coat. If the rest of the wall has a textured finish, you may need to recreate that texture with a sponge, brush, or spray texture product before painting - match the technique to your existing wall.
Once your final coat is fully dry and sanded, wipe the area with a slightly damp cloth to remove dust. Apply a coat of drywall primer before painting - skipping primer is a common mistake that causes the repaired spot to absorb paint differently, leaving a visible dull patch even after the color matches. For more finishing and sealing work around your home, our room-by-room sealing guide covers complementary techniques that complete a tidy, air-tight interior.
Common Mistakes and How to Avoid Them
Even experienced DIYers run into predictable pitfalls. Here are the most common errors and how to sidestep them:
- Applying compound too thick in a single coat
- Thick coats crack as they dry. Keep each layer thin - no more than 1/8 inch - and build up gradually.
- Sanding too soon
- Joint compound must be fully dry (bright white, not gray or translucent) before sanding. Sanding damp compound tears the surface and creates a rough texture that's hard to smooth.
- Skipping the feathering step
- Feathering means thinning the compound edges outward 6-8 inches beyond the repair, so the patch blends invisibly rather than showing a raised ridge. Use a wider knife (10-12 inches) for final coats.
- Not priming before painting
- Fresh compound is highly porous. Without primer, paint soaks in unevenly, creating a flat spot - called flashing - visible even when the color matches exactly.
Matching Existing Wall Texture
Many homes have a subtle texture - orange peel, knockdown, or smooth - applied during original construction. Before finishing your repair, examine the surrounding wall under raking light (hold a flashlight at an angle) to identify the texture pattern. Practice your texture technique on a piece of scrap drywall before applying it to the repair area.
The content on this site is for informational purposes only and is not a substitute for professional advice. Always consult a qualified professional for guidance specific to your situation.