

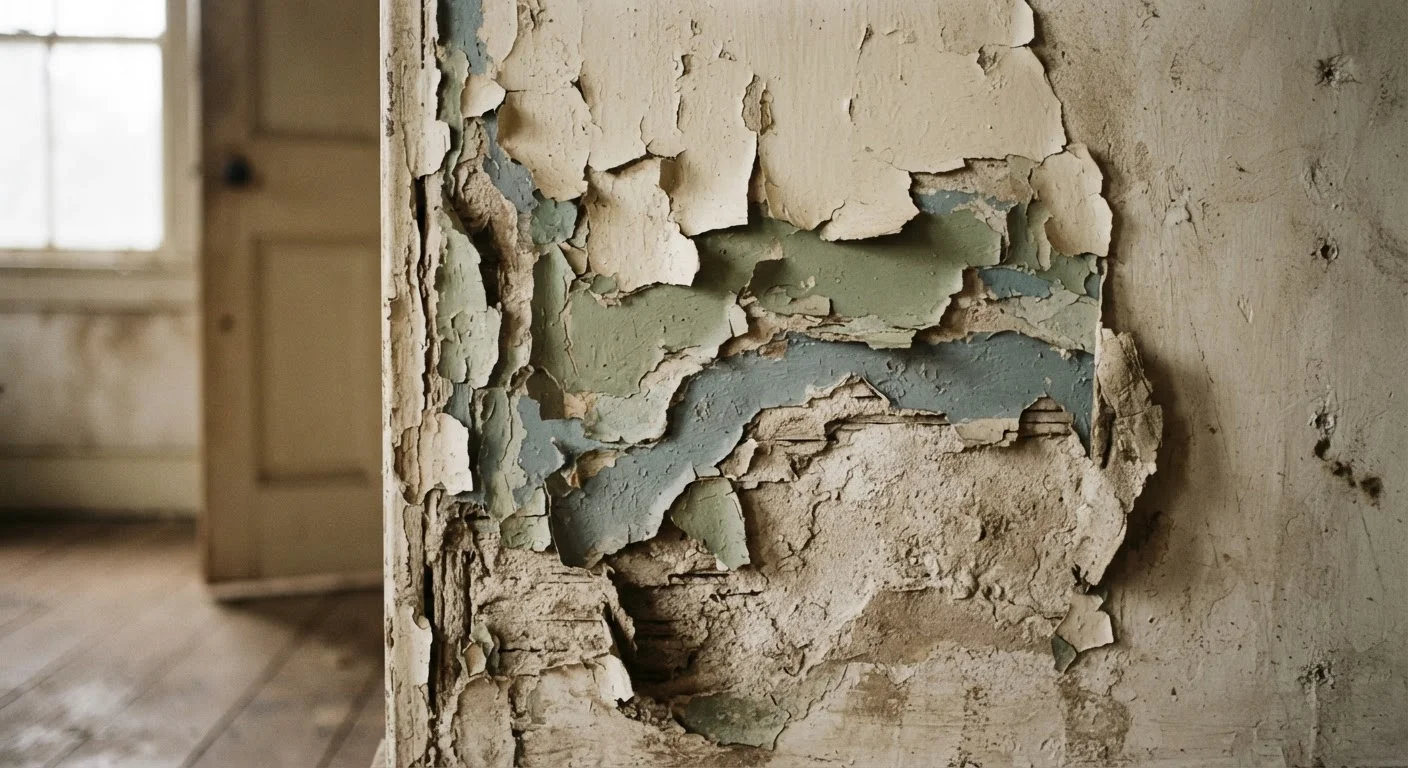
Why Peeling Paint Is Almost Never Just a Paint Problem
A fresh coat of paint should last years - so when it starts curling off the wall within months, or even weeks, it signals that something went wrong before the first brush stroke. Paint itself rarely fails spontaneously. What actually fails is the bond between paint and the surface beneath it, and that bond depends entirely on preparation, conditions, and product compatibility.
Understanding the root cause - rather than treating peeling as purely cosmetic - is what separates a lasting fix from an endless repaint cycle. As this guide for first-time homeowners explains, jumping into surface projects without diagnosing underlying conditions is one of the most common and costly home maintenance mistakes.
Peeling Near Windows or Ceilings? Suspect Moisture First
If peeling is concentrated around windows, ceilings, or exterior walls, water infiltration is the most likely culprit. Repainting over active moisture damage without fixing the source will result in the same problem within months. Before picking up a brush, investigate for roof leaks, plumbing condensation, or failed caulking - and address those issues completely first.
The Most Common Mistakes That Cause Paint to Peel
Most peeling scenarios trace back to a short list of preparation and application errors. Recognizing which one applies to your situation tells you exactly what needs to change before repainting.
Skipping surface cleaning before painting.
Why it happens: Many homeowners assume a wall that looks clean is ready to paint - but dust, grease, and soap residue are invisible barriers that prevent adhesion.
Painting over a glossy or previously varnished surface without abrading it first.
Why it happens: Smooth, shiny surfaces naturally repel new coatings - but this isn't obvious until the paint begins to peel weeks later.
Applying paint to walls that are still damp or in a high-humidity environment.
Why it happens: Moisture trapped beneath or within paint film breaks the bond between the paint and substrate as it tries to escape.
Omitting primer entirely or choosing an incompatible primer type.
Why it happens: Primer adds a step and cost that many DIYers try to eliminate, especially when using paint-and-primer-in-one products on challenging surfaces.
Applying paint coats that are too thick or not allowing adequate drying time between coats.
Why it happens: Rushing a project leads to applying heavy coats to finish faster, trapping solvents underneath and creating a surface that cures unevenly.
Using interior paint in a moisture-prone room without upgrading to the appropriate formulation.
Why it happens: Standard interior latex paint is not designed to withstand sustained humidity, steam, or condensation common in bathrooms and kitchens.
Don't Paint Over Old Peeling Paint
It's tempting to simply apply a fresh coat over flaking areas, but doing so traps the underlying failure beneath new paint. The peeling will continue and often worsens, creating larger patches. All loose and peeling paint must be fully removed and the surface properly prepared before any new coat is applied.
How to Diagnose What Went Wrong on Your Walls
Before repainting any peeling surface, take a few minutes to read the pattern of failure. Location matters: peeling concentrated near windows, exterior walls, or ceilings typically points to moisture intrusion. Peeling across broad, flat areas more often indicates a prep or adhesion failure. Peeling specifically at edges and seams often signals incompatible products or inadequate drying time between coats.
Peel back a flaking piece carefully. If the paint comes off as a cohesive layer and the surface beneath is smooth, adhesion failed at the wall interface - usually a prep issue. If layers separate from each other, the problem is between coats, pointing to recoat timing or product incompatibility.
~80%
Of paint failures attributed to poor surface prep
Industry painting professionals widely cite inadequate surface preparation as the leading cause of premature paint failure, far outweighing product quality as a factor.
48-72 hrs
Recommended drying time before washing newly painted walls
Most latex paint manufacturers recommend waiting at least 48 to 72 hours after application before the surface is exposed to moisture or cleaning.
Once you've identified the cause, strip all loose paint using a scraper and, where needed, a chemical paint stripper. Sand the area smooth, address any moisture sources, prime correctly for the surface type, and apply paint in the appropriate environmental conditions. Done in sequence, this approach resolves peeling durably.
The content on this site is for informational purposes only and is not a substitute for professional advice. Always consult a qualified professional for guidance specific to your situation.